SCCM client install/reinstall (A disaster recovery approach)


It is always a unique challenge of having to build an OSD experience that includes providing a great user experience during the deployment of a new operating system.
The attached application would allow you to present a front-end to an active end-user who is executing the SCCM task sequence……
Keywords: SCCM tasksequence UI, SCCM Task Sequence User interface, SCCM task sequence Set computer name.
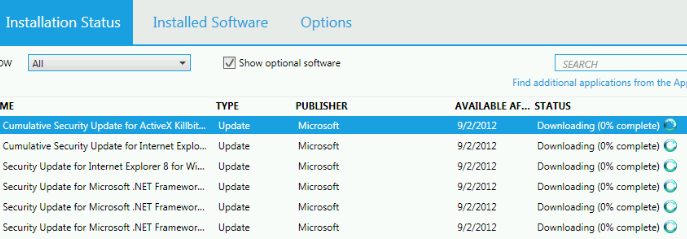
Reporting on software update compliance of workstation devices in SCCM brings with it varying levels of complexities. But if you break it all down and…
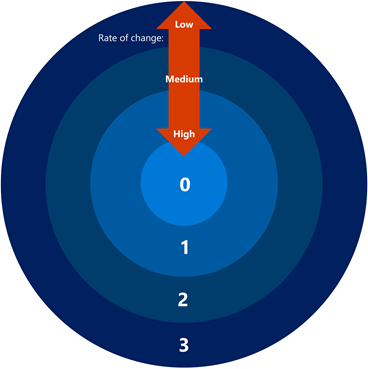
According to Microsoft. A deployment ring is a defined as follows. “Deployment rings in Windows 10 are like the deployment groups most organizations constructed for…
Does your organization use VPN where a remote client no longer act as a network but as a standalone host which communicates on an interface…
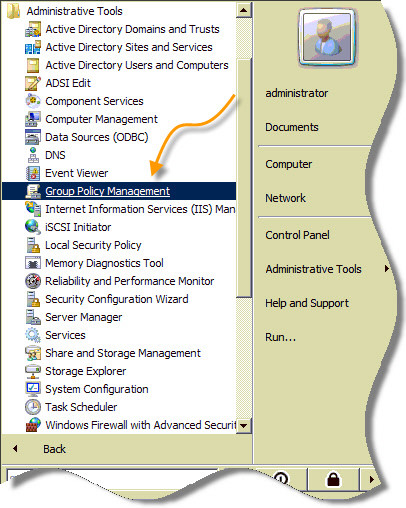
Create a SCOPE for the Group Policy Object. Remove all other scopes. The scope will be limited to an AD security group e.g. ‘SCCM-Client-Re-Install-AD-Group’
Now the group policy will only run on computers who are members of the above AD security group. In this case, ‘SCCM-Client-Re-Install-AD-Group’ security group.
You must be logged in to post a comment.
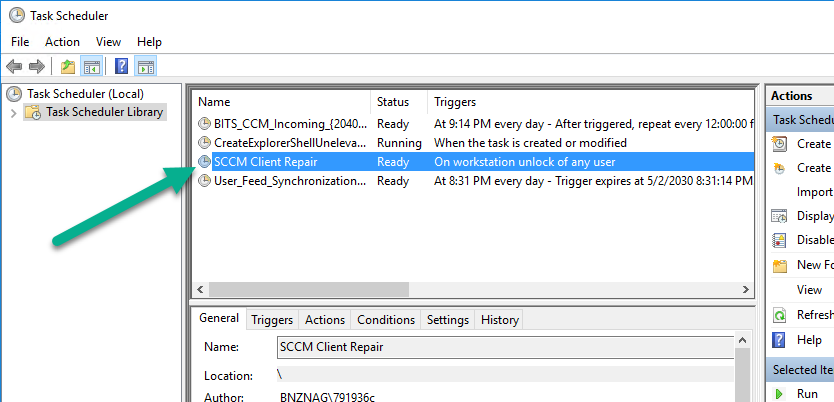
This is very good approach. I do like the schedule task trigger; allows the install to happen outside the purview of the SCCM client (ccmexe.exe process). Delivery using the SCCM application delivery model but, execution using the ‘system unlock’ schedule task trigger. Great idea!
Read a comment on LinkedIN regarding your post. The comment read that your script can be delivered group policy too; I thought that was a good idea.
Great article – thanks for sharing. I used some of your approach for a recent SCCM client migration. It was mostly successful, but a number of servers failed to migrate. You may want to update your article, as this will affect others.
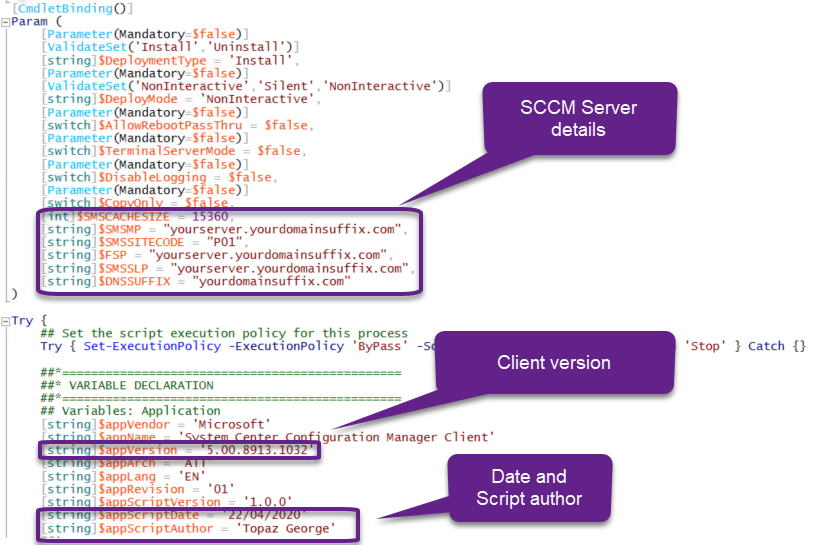
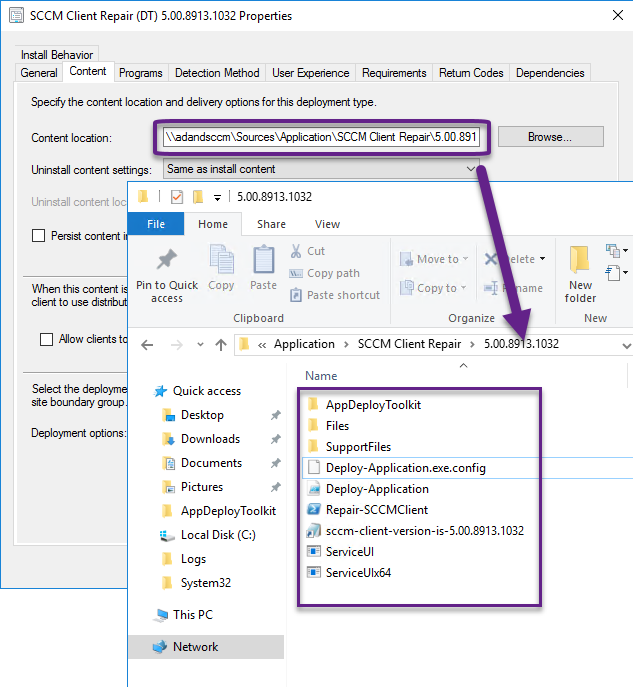
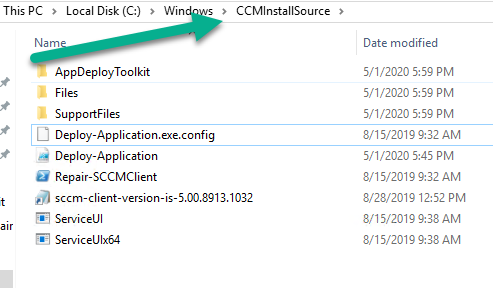
When running the script manually on these failed machines, I found Windows prompts for a .Net 3.5 feature to be installed. This causes the script to stall when it’s run in the system context. This is a bug which appeared in PSAppDeployToolkit 3.5, and was resolved by creating the “Deploy-Application.exe.config” file in the root folder, alongside the “Deploy-Application.exe” file. The original article mentioning this has been archived, but it is mentioned here.
This fix works fine, unless you rename Deploy-Application.exe file (as in your solution, where it’s renamed to Repair-SCCMClient.exe). If you do that, you also need to rename the .config file to match.
So, in a nut-shell, Deploy-Application.exe.config needs to be renamed to Repair-SCCMClient.exe.config. Otherwise, the script will stall in certain circumstances.
Thank you, Dave. Appreciate your work. I’ll get my team to update the package and make the necessary changes to this article.